For New Coders
Welcome to Bwat, your AI-powered coding companion! This guide will help you set up your development environment quickly and start your coding journey with confidence.
💡 Tip: If you're brand new to coding, don’t worry—take it step by step. Bwat is here to support you every step of the way!
🚀 Getting Started
Before diving into coding, make sure you have these essentials ready:
1. Visual Studio Code (VS Code)
A free, powerful, and widely used code editor. Download VS Code (opens in a new tab)

📺 Recommended YouTube Tutorial: How to Install VS Code (opens in a new tab)
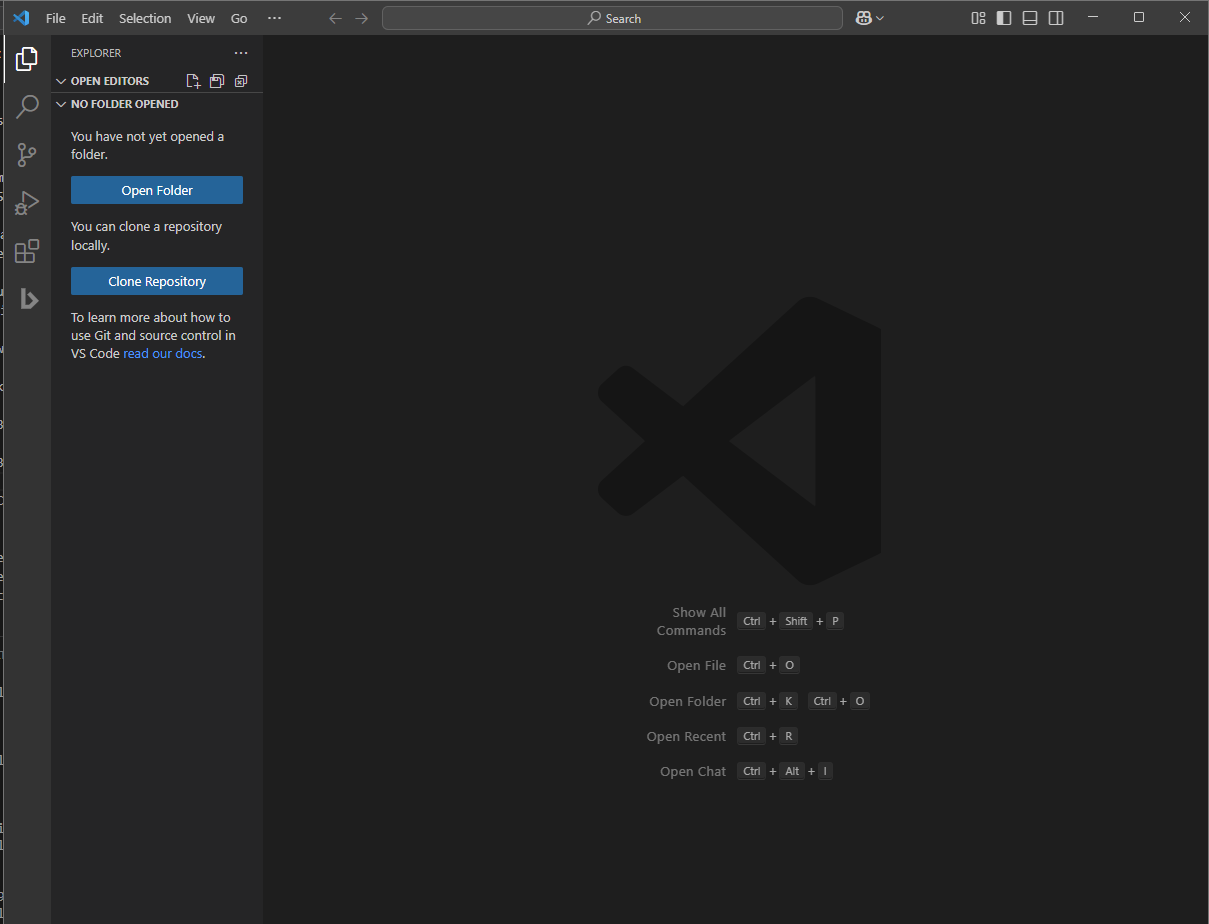
✅ Pro Tip: If you are using MacOS, Install VS Code in your Applications folder. If you are using Windows, download the VS code installer and hit next til you finish. You can test and see if it installed correctly by pressing the windows button and typing "Code" (Or for mac, access the App List and search for "Code")
2. Essential Development Tools
Basic software needed for smooth coding:
For MACOS
- Homebrew (for macOS users) (opens in a new tab).
- Node.js (for both MacOS and Windows) (opens in a new tab). You will need this if you are developing in NextJS
- Git (Crucial. It powers a very useful feature of Bwat) (opens in a new tab) This one helps you save and track all changes to your code online (and offline)
- Whatever else is needed for the project you are working on, eg The Flutter SDK for mobile app development, Python for python related projects, PHP and WampServer or XAMPP for Laravel projects, etc.
✅ Pro Tip: If you do not know what else you will need, it's okay. Just install VS code, set up Bwat, and you can ask Bwat to advise you on what you need 😉. Yeah. AI is really cool.
📺 Recommended YouTube Tutorials:
For macOS:
- Install Homebrew on Mac (opens in a new tab)
- Install Git on macOS (2024) (opens in a new tab)
- Install Node.js on Mac (M1/M2/M3) (opens in a new tab)
For Windows:
- Install Git on Windows 10/11 (opens in a new tab)
- Install Node.js on Windows 10/11 (opens in a new tab)
⚠️ Note: If you encounter permission issues, try running your terminal or command prompt as an administrator.
3. Organize Your Projects
We recommend you create a dedicated Bwat folder to keep all your coding projects structured:
- macOS:
/Users/[your-username]/Documents/Bwat - Windows:
C:\Users\[your-username]\Documents\Bwat
You can put this folder wherever you prefer, but we recommend you put it either on your Desktop or in your Local Disk D (If you have it). Generally, avoid putting it in Local Disk C, because that folder usually has permission restrictions because it is where your operating system is stored.
Inside your Bwat folder, organize projects clearly:
Documents/Bwat/farming-app(Example: A farming app (duhh))Documents/Bwat/whatsapp-clone(Example: A clone of the popular ride hailing app Uber. 😐 . It is a clone of whatsapp)
✅ Pro Tip: Most projects generally involve having more than one repo, eg One codebase for a PHP laravel backend, two codebases for mobile apps, etc, so we severely recommend that inside your Bwat folder, you use subfolders to organize your codebases better. It's entirely up to you.
4. Install the Bwat VS Code Extension
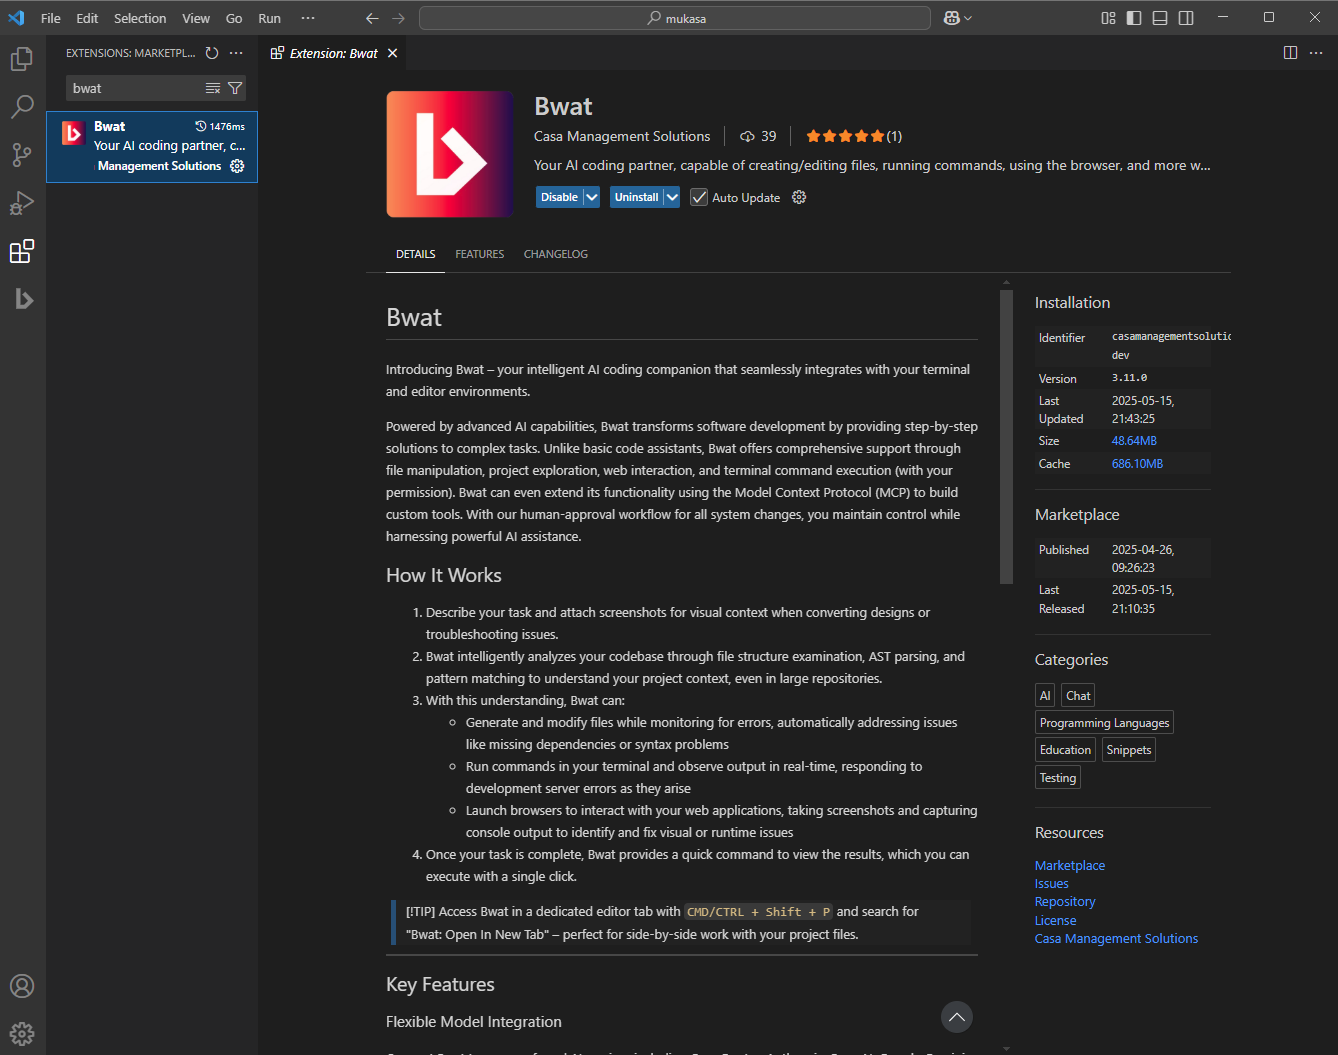
Time for the good stuff. Once you're done installing VS code, open it and go to the Extensions Tab and search for Bwat:

📺 Recommended YouTube Tutorial: How to Install Extensions in VS Code (opens in a new tab)